

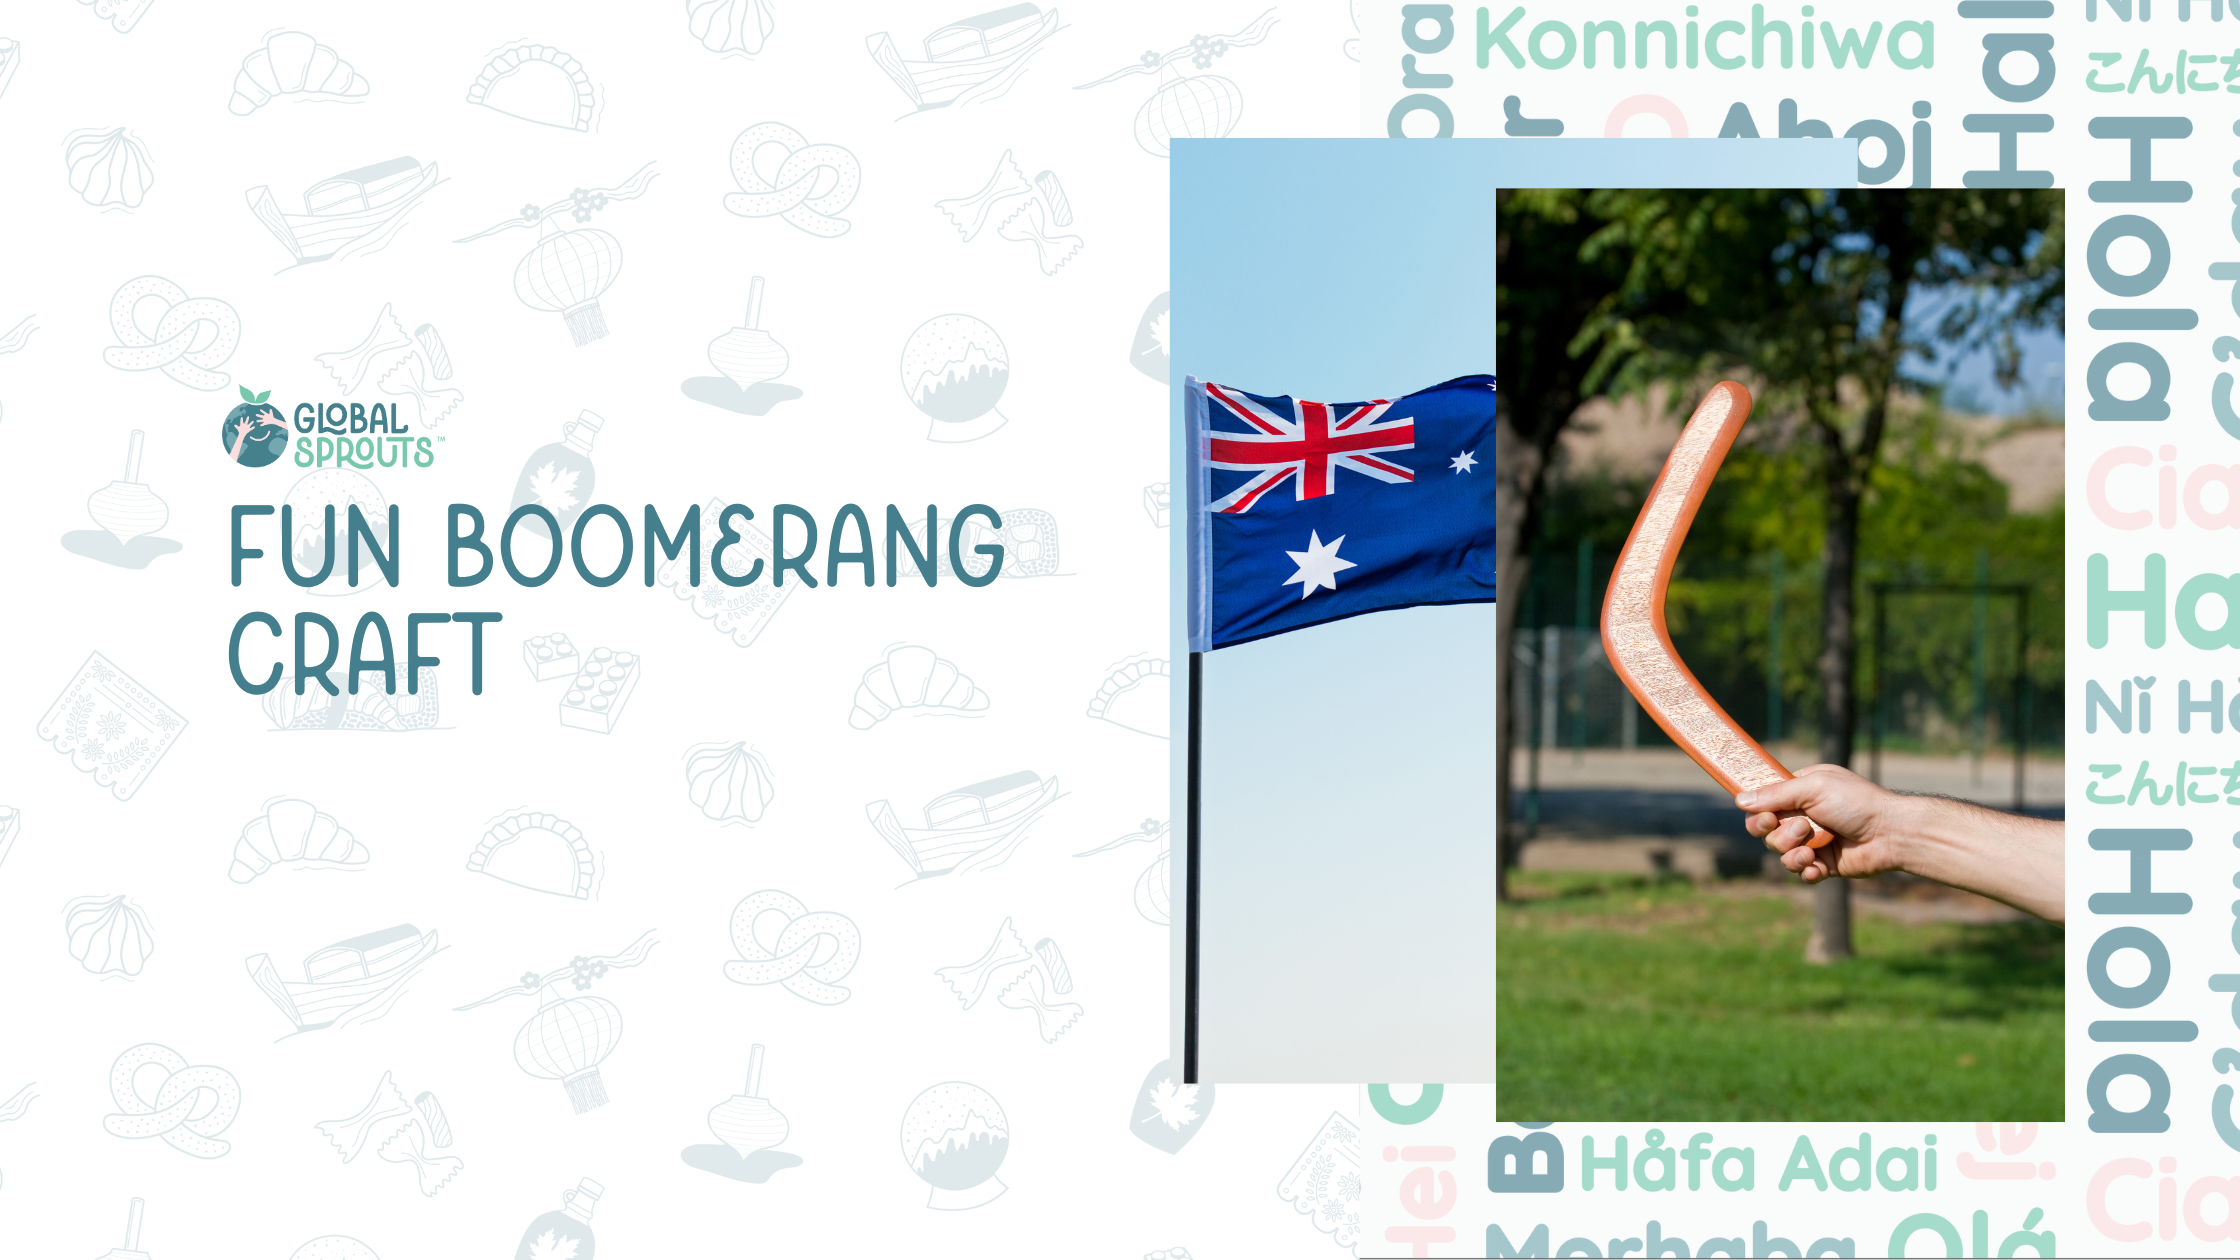
Make a Boomerang (Craft for Kids 2-6)
Get kids aged 2-6 engaged with a simple, fun craft while learning about boomerangs, a tool with origins in Aboriginal Australian heritage. This activity helps kids develop fine motor skills, creativity, and a basic understanding of motion. Here's what you'll do:
- Craft a Boomerang: Use cardboard, scissors, and tape to create a child-friendly version.
- Decorate: Let kids design with markers, stickers, or paint.
- Learn & Play: Explore the history of boomerangs and practice safe throwing techniques.
Supplies Needed:
- Essentials: Thick cardboard, child-safe scissors, non-toxic glue, markers, and clear duct tape.
- Optional Decorations: Stickers, paint, foam shapes.
Set up a safe, mess-friendly workspace and guide kids through the steps. This activity is perfect for sparking creativity and introducing cultural history in a hands-on way.
What You'll Need
Supply List
Get ready for a creative and safe boomerang crafting session with these supplies:
Must-Have Materials:
- Thick cardboard (like the kind from shipping boxes or craft stores)
- Child-safe scissors with rounded tips
- Non-toxic white glue
- Washable markers in a variety of colors
- Clear duct tape to make your boomerang sturdy
Optional Extras for Decoration:
- Large stickers (great for younger kids)
- Washable paint
- Paint brushes with easy-to-grip handles
- Self-adhesive foam shapes for added flair
Before you dive in, be sure to go over some essential safety tips.
Safety Rules
When crafting with kids, safety should always come first. Keep these rules in mind:
- Always supervise children, especially when they're cutting or gluing.
- Stick to non-toxic, child-friendly materials.
- Make sure scissors are pointed away from faces and bodies at all times.
- Introduce one material at a time to keep things simple and manageable.
- Have wet wipes or paper towels handy to quickly clean up any messes.
Once you've got the safety part covered, it's time to set up your crafting area.
Workspace Setup
Follow these steps to create an ideal crafting space:
Pick the Right Spot
Choose a familiar, comfortable area to help kids stay focused.
Prepare Your Work Surface
- Protect your table with a washable placemat or a plastic sheet.
- Tape down the covering to keep it secure, and make sure the area is well-lit.
- Work in a spot where any messes can be cleaned up easily.
Get Supplies in Order
- Use clear containers so you can quickly find what you need.
- A lazy susan can make sharing supplies a breeze.
- Add picture labels to supply bins to help younger kids find items.
- Keep frequently used tools within easy reach for smoother crafting.
With everything ready, you’re all set to start crafting!
Making the Boomerang
Cutting the Shape
Start with a piece of thick cardboard, around 8.5″ x 11″. For younger kids, it helps to draw the outline for them first.
Here’s how to shape your boomerang:
- Cut the cardboard in half lengthwise.
- Fold the piece lengthwise, then unfold it to reveal a center crease.
- Fold both sides inward, aligning them with the center crease to form the wings.
- Fold the top corners toward the middle to create triangular ends.
Use dotted lines to mark where to fold, making it easier to follow. Always supervise cutting and offer help if needed.
Adding Designs
Now that the shape is done, it’s time to decorate your boomerang. This is where creativity takes center stage!
Decoration Ideas:
- Draw big, colorful dots in rainbow hues.
- Add straight lines with markers in different colors.
- Create simple zigzags with washable markers.
- Use foam shape stickers to make patterns.
For younger kids, large stickers are a great choice - they’re easy to handle and place.
Making It Strong
Once decorated, you’ll want to reinforce the boomerang to make it last longer.
Steps to Strengthen It:
- Cover all edges with clear duct tape.
- Tape both sides for extra durability.
- Smooth out any air bubbles while applying the tape.
If the cardboard feels too thin, try this tip from Playtivities: “Double or triple the cardboard layers to give it more strength.”
For even more durability:
- Use thicker cardboard from the start.
- Firmly press down on the folds to reinforce them.
- Add an extra layer of tape at the points where the boomerang bends the most.
While this boomerang won’t fly like a real one, it’s a fantastic way to spark creativity and imagination!
Learning About Boomerangs
Simple History
Boomerangs hold a special place as ancient symbols of Aboriginal heritage. Archaeological evidence shows they date back around 20,000 years. Aboriginal communities have preserved this tradition, keeping it alive through storytelling and practice.
When introducing boomerangs to children, focus on these fascinating aspects:
- They were essential tools in Aboriginal daily life.
- Boomerangs appear in creation stories and as powerful cultural symbols.
- They showcase incredible craftsmanship, with origins spanning thousands of years.
This rich history can be explored through hands-on activities that make learning fun and meaningful.
Stories and Games
Help children connect with the fascinating history of boomerangs through engaging activities:
Show and Tell: Display your craft boomerang and invite children to imagine how it might have been used in the past. Let their curiosity guide the discussion.
Movement Play: Encourage kids to mimic the flight of a boomerang, blending physical activity with imagination.
"For Aboriginal people the boomerang is as old as the continent and symbolises their cultural endurance." - National Museum of Australia
To deepen their understanding, try these ideas:
- Use simple language to explain how boomerangs link Aboriginal people to their heritage.
- Share images of traditional boomerangs alongside your craft version to inspire curiosity and conversation.
- Encourage children to create their own stories about the role of boomerangs in Aboriginal traditions.
sbb-itb-6d35b6a
Making It Work for Everyone
Tips by Age Group
You can tailor the boomerang craft to suit different age groups for a fun and safe experience:
Ages 2-3:
- Cut out the boomerang shape in advance to avoid sharp edges.
- Use dot stickers or paint sticks for decorating since they’re easy for little hands.
- Keep the focus on simple throwing motions rather than accuracy.
- Always supervise closely during outdoor play.
Ages 4-6:
- Let kids try cutting their own boomerang shapes (with safety scissors).
- Provide markers and smaller stickers for more detailed designs.
- Teach basic throwing techniques to improve their aim.
- Encourage independent decorating to spark creativity.
- Introduce simple ideas about flight and motion to make it educational.
More Learning Ideas
A printable boomerang template and traditional patterns can inspire creativity while also teaching valuable lessons. Here’s how to make the most of the activity:
Visual Learning: Encourage artistic expression by using markers, paint, or traditional Aboriginal patterns as a guide for their designs.
Physical Learning: Practice throwing outside on a calm day to explore movement:
- Experiment with different throwing angles.
- Observe how the wind affects the boomerang’s flight.
- Teach safe ways to catch it when it returns.
Scientific Discovery: Dive into simple science concepts during the activity:
- Discuss how air moves around the boomerang’s curved edges.
- Test how the shape affects throwing distance and accuracy.
- Introduce the idea of why some boomerangs return to the thrower.
Group Activities
Take the activity to the next level by encouraging teamwork and friendly competition:
Team Design Challenge: Divide into small groups and create themed boomerangs. Teams can:
- Choose a color scheme.
- Add unique decorative patterns or symbols.
- Come up with creative team names.
Flying Fun: Plan outdoor games to enjoy the boomerangs together:
- Set up specific throwing zones for safety.
- Create target games to test accuracy.
- Practice taking turns to build patience and teamwork.
- Celebrate when someone achieves a great throw or hits the target!
Wrap-Up
Your child has created something more than just a boomerang - it’s a connection to a tradition with deep roots.
Making a boomerang not only sharpens fine motor skills but also encourages imaginative thinking. It’s a unique mix of hands-on learning and creative expression that ties into a meaningful cultural heritage.
For Aboriginal communities, the boomerang is a symbol of resilience and tradition. Understanding that their handmade creation represents such a revered cultural artifact helps children develop a deeper respect for long-standing traditions.
Once the boomerang is complete, proudly display it as a conversation starter. Use it to explore topics like the science of motion, the artistry behind its design, and the importance of honoring cultural practices.
As your child plays with their boomerang, they’re not just having fun - they’re engaging with a piece of history that inspires curiosity and learning.
FAQs
How can I make sure the boomerang craft is safe for my child to use?
To keep the boomerang craft safe, stick to kid-safe materials like lightweight cardboard or foam. Make sure to supervise your child during both the crafting process and playtime. Steer clear of sharp tools or small pieces that could become choking hazards, especially for younger kids.
When it’s time to play, pick an open outdoor space where there are no people, pets, or breakable items nearby. Teach your child to throw gently and remind them never to aim at anyone. Following these simple steps can ensure the activity stays enjoyable and safe for everyone involved.
What are the educational benefits of making a boomerang with young children, and how can I include these in the activity?
Making a boomerang with kids isn’t just a fun craft - it’s a hands-on way to help them grow important skills. Activities like this can boost fine motor skills, hand-eye coordination, and spatial awareness, while also sparking creativity, problem-solving, and self-expression. These are key developmental areas for kids aged 2-6, who are naturally curious and eager to explore the world around them.
To make the most of this activity, let kids personalize their boomerangs with their own designs, try out different throwing techniques, and even dive into the science behind why boomerangs come back. It’s also a great chance to talk about the cultural importance of boomerangs in Indigenous Australian traditions, encouraging kids to learn about and appreciate other cultures.
How can I teach young children about the cultural importance of boomerangs in a fun and simple way?
Boomerangs are far more than just fun objects to throw - they hold deep significance in Aboriginal culture in Australia. For thousands of years, Aboriginal peoples have used boomerangs as tools for hunting, in ceremonial practices, and even as a way to share stories. Each boomerang often carries unique designs that reflect the maker's heritage, with patterns and symbols that tell meaningful stories about their history and traditions.
To help kids relate, you could compare boomerangs to tools or art forms in their own lives that carry special meaning or represent family traditions. Showing pictures of traditional boomerangs can make the learning experience more vivid. You might also encourage kids to decorate their own craft boomerangs, filling them with designs that tell their personal stories. This hands-on activity blends creativity with an appreciation for another culture's rich history.